Welcome to the vibrant and intricate world of machine embroidery! Whether you’re a curious beginner or a seasoned stitcher looking to refine your skills, this guide will take you on a journey through the history, techniques, and secrets of machine embroidery. Buckle up, because this adventure is filled with creativity, humor, and a whole lot of thread.
Welcome to the Embroidery Universe
Hi there! I’m Brian, your guide through this fascinating world. Machine embroidery is a craft that combines art, technology, and a dash of patience. But don’t worry—this journey doesn’t have to be intimidating. With a sense of humor and a willingness to learn, you’ll soon be creating stunning embroidered pieces.
So, let’s dive in! We’ll start with a bit of history, explore the basics of machine embroidery, and eventually venture into advanced techniques. Ready? Let’s go!
A Brief History of Embroidery
Embroidery is as old as humanity itself. Since the first garment was made, someone has been decorating it. For centuries, embroidery was done by hand, with skilled artisans creating intricate designs stitch by stitch.
The Scots, known for their inventiveness (blame the rainy weather), attempted to create an embroidery machine in the 1400s. While their invention “sort-of worked,” it wasn’t until the Industrial Revolution that machine embroidery truly took off. Swiss manufacturers led the way, creating massive, complex machines that laid the foundation for modern embroidery.
Fast forward to the 1970s, when computers entered the scene. This revolutionized the industry, making embroidery more accessible and efficient. Today, we have sophisticated machines that can create intricate designs with the push of a button.
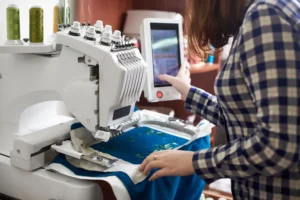
The Basics: Getting Started
So, you’ve unboxed your machine, threaded it up, and plugged it in. Now what? Here’s a quick rundown of the essentials:
1. Fabric and Stabilizer
- Fabric: Start with something simple, like felt. It’s affordable, easy to hoop, and forgiving for beginners.
- Stabilizer: This is the unsung hero of embroidery. It prevents fabric from stretching and distorting during stitching. Tear-away stabilizer is a great place to start.
2. Hooping Your First Piece
- Cut your fabric and stabilizer slightly larger than your hoop.
- Hoop the stabilizer tightly, but keep the fabric relaxed and smooth. Over-stretching the fabric will result in a permanently distorted design.
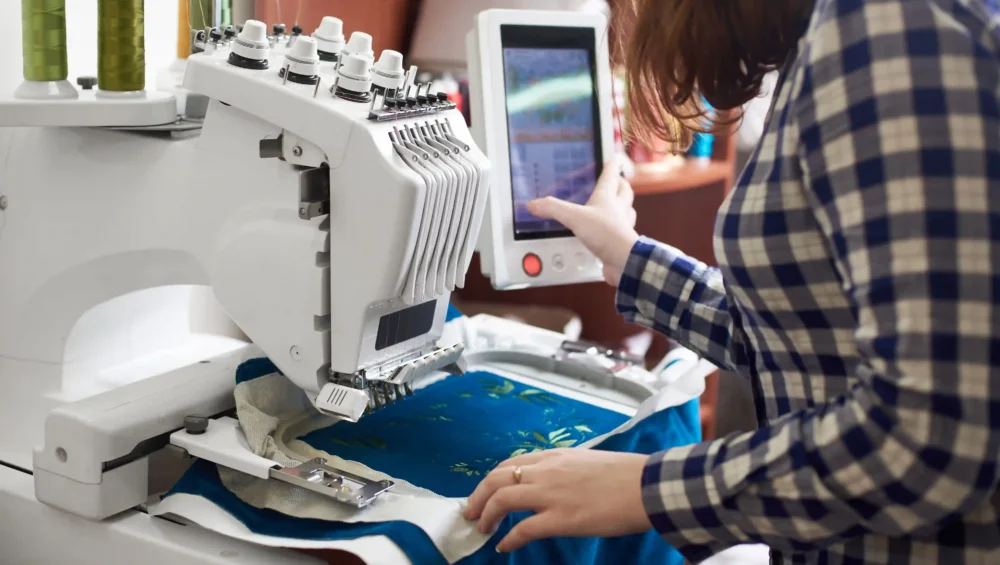
3. Running Your Machine
- Follow your machine’s instructions to start stitching. Most machines have a “Start” button—press it and watch the magic happen!
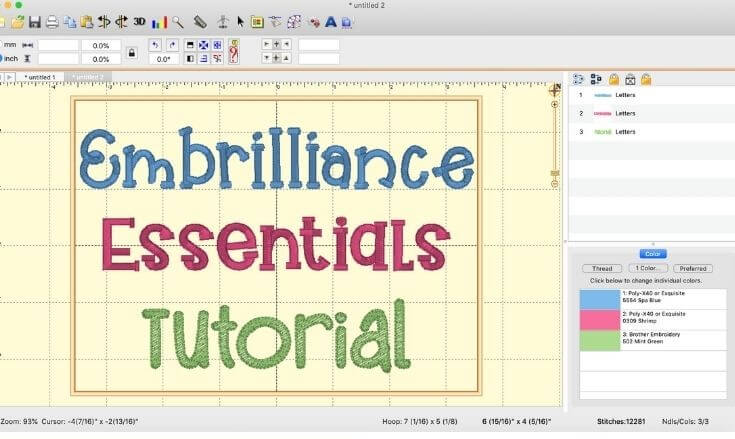
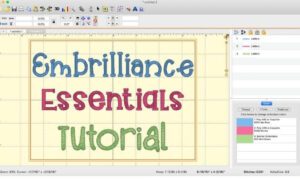
The Art of Embroidery Design
Embroidery designs are not images; they’re sets of stitches. Think of them as a series of commands that tell the machine where to move and how to stitch.
File Types
Embroidery files come in various formats, such as .DST, .PES, and .JEF. Each format is specific to certain machines, so make sure you’re using the right one for your device.
Design Types
- Stock Designs: Pre-made designs available for purchase or download.
- Custom Designs: Created specifically for logos, fashion, or personal projects.
- Freestanding Lace (FSL): Designs stitched on water-soluble stabilizer, leaving only the thread behind.
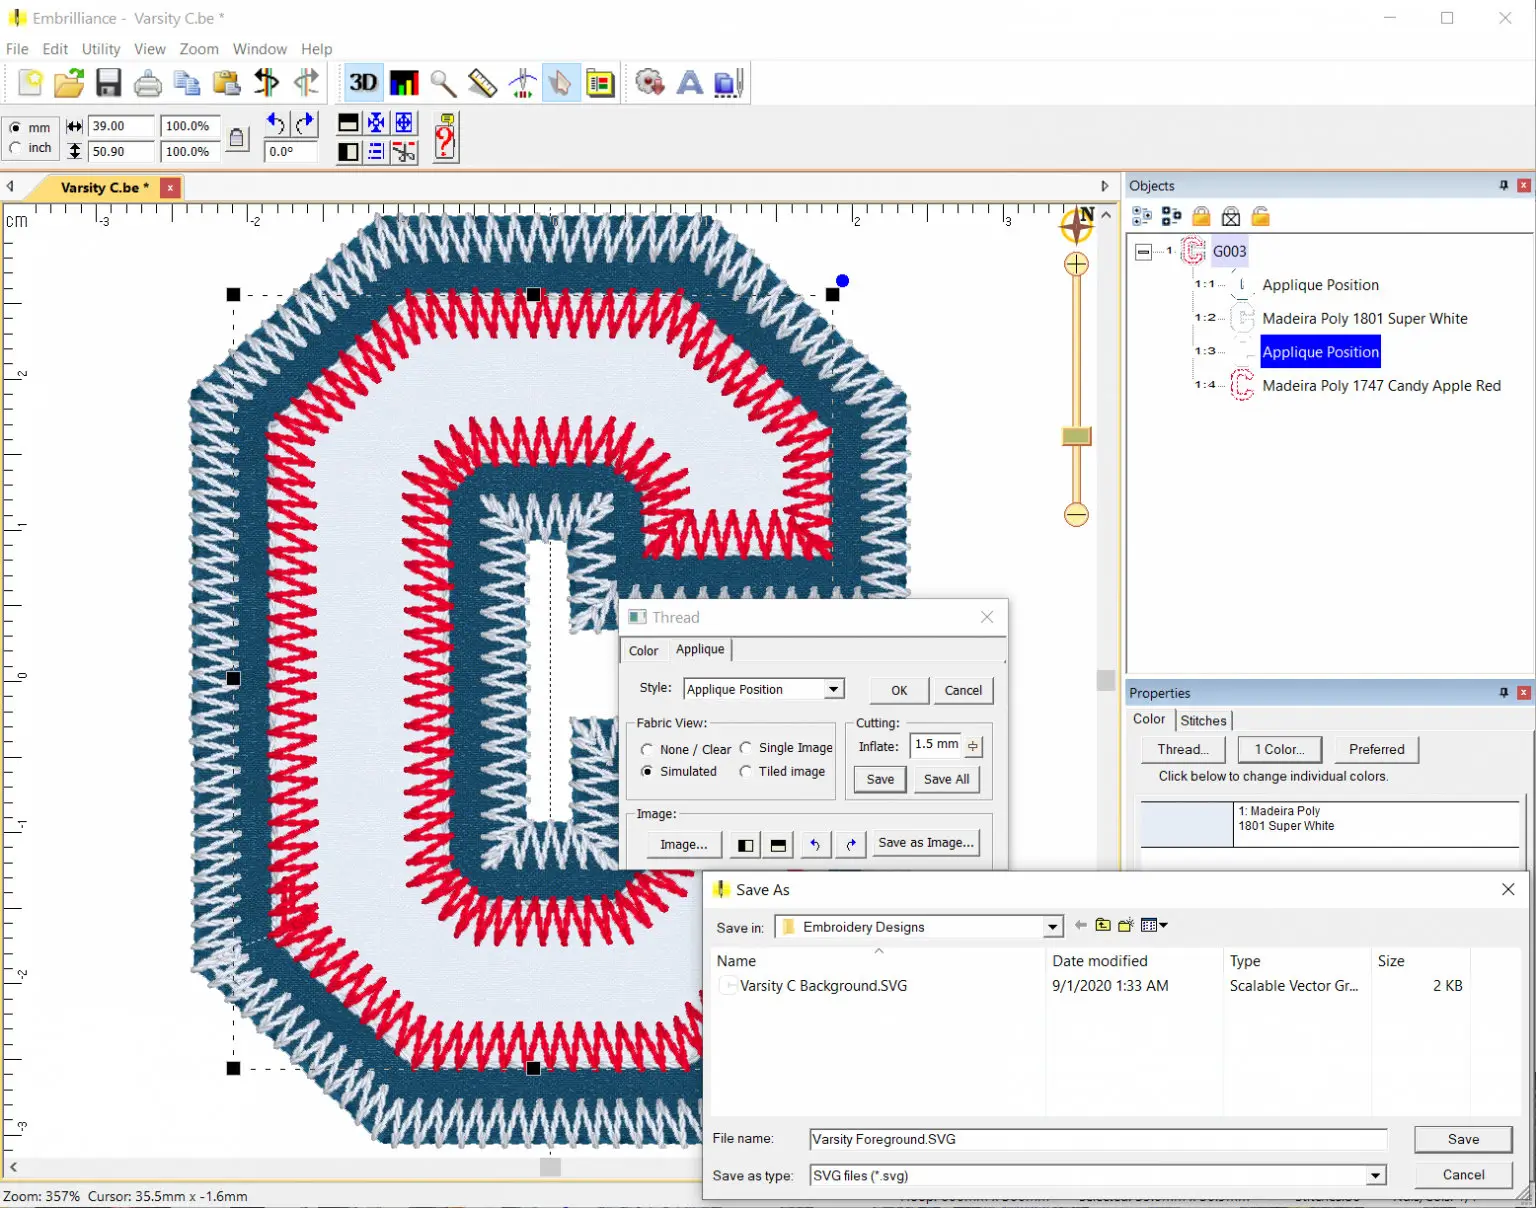
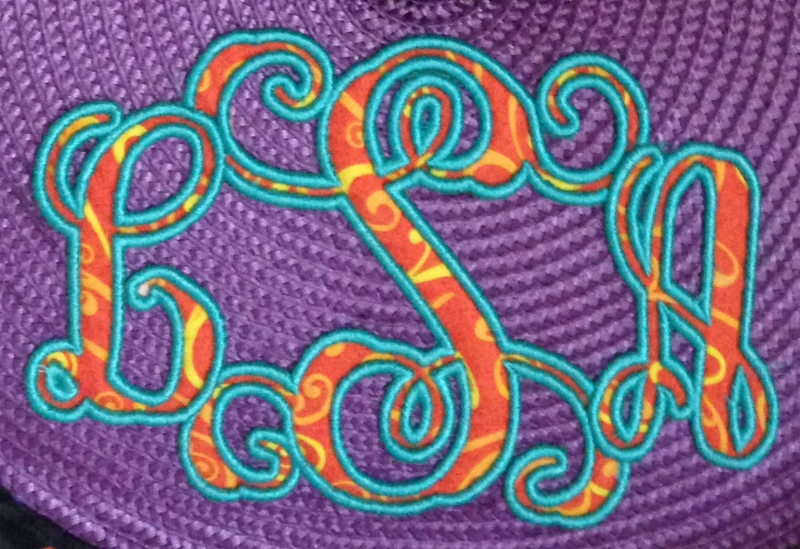
- Appliqué: A technique where fabric pieces are stitched onto a base fabric.
Threads, Needles, and Tension
Threads
- Rayon: Shiny and smooth but prone to breaking.
- Polyester: Durable and widely used.
- Metallic: Adds sparkle but can be tricky to work with.
- Variegated: Changes color along the length of the thread, creating unique effects.
Needles
- Use the right needle for your fabric and thread. For example, a 75/11 needle is ideal for general embroidery, while a metallic needle is better for metallic threads.
- Change your needle regularly to avoid thread breaks and uneven stitching.
Tension
- Proper tension is key to smooth, even stitches. If your tension is off, check your threading and bobbin.
Stabilizers: The Backbone of Embroidery
Stabilizers come in two main types:
- Tear-Away: Easy to remove and great for lightweight fabrics.
- Cutaway: Provides strong support and is ideal for stretchy fabrics.
Remember: Always use stabilizer! Even sturdy fabrics like denim need it to prevent distortion.
Hooping and Registration
Hooping is an art in itself. Whether you’re hooping fabric or floating it over the stabilizer, the goal is to keep everything smooth and stable.
Registration Issues
If your design’s colors don’t line up, it’s likely due to fabric movement or improper stabilization. Use a topping (a stabilizer placed on top of the fabric) to keep stitches in place.
Advanced Techniques
Once you’ve mastered the basics, you can explore advanced techniques like:
- In-The-Hoop (ITH) Projects: Create complete items, like bags or quilts, using your embroidery machine.
- 3D Foam Embroidery: Add dimension to your designs with foam.
- Freestanding Lace: Create delicate lace designs that stand on their own.
Final Thoughts: Let the Adventure Begin!
Machine embroidery is a journey of creativity and discovery. Don’t be afraid to make mistakes—they’re part of the learning process. With practice, you’ll soon be creating personalized, professional-quality designs.
Remember, the key to success is to have fun and keep experimenting. Whether you’re stitching a monogram on a towel or creating a intricate lace design, the possibilities are endless.
So, grab your stabilizer, thread your machine, and let the adventure begin!